Document Outline
Long documents are easier to navigate by structure than by scrolling. The Outline gives you a live table of contents for the file you’re editing: every heading, indented by level, one tap away from the passage it names.
Opening it
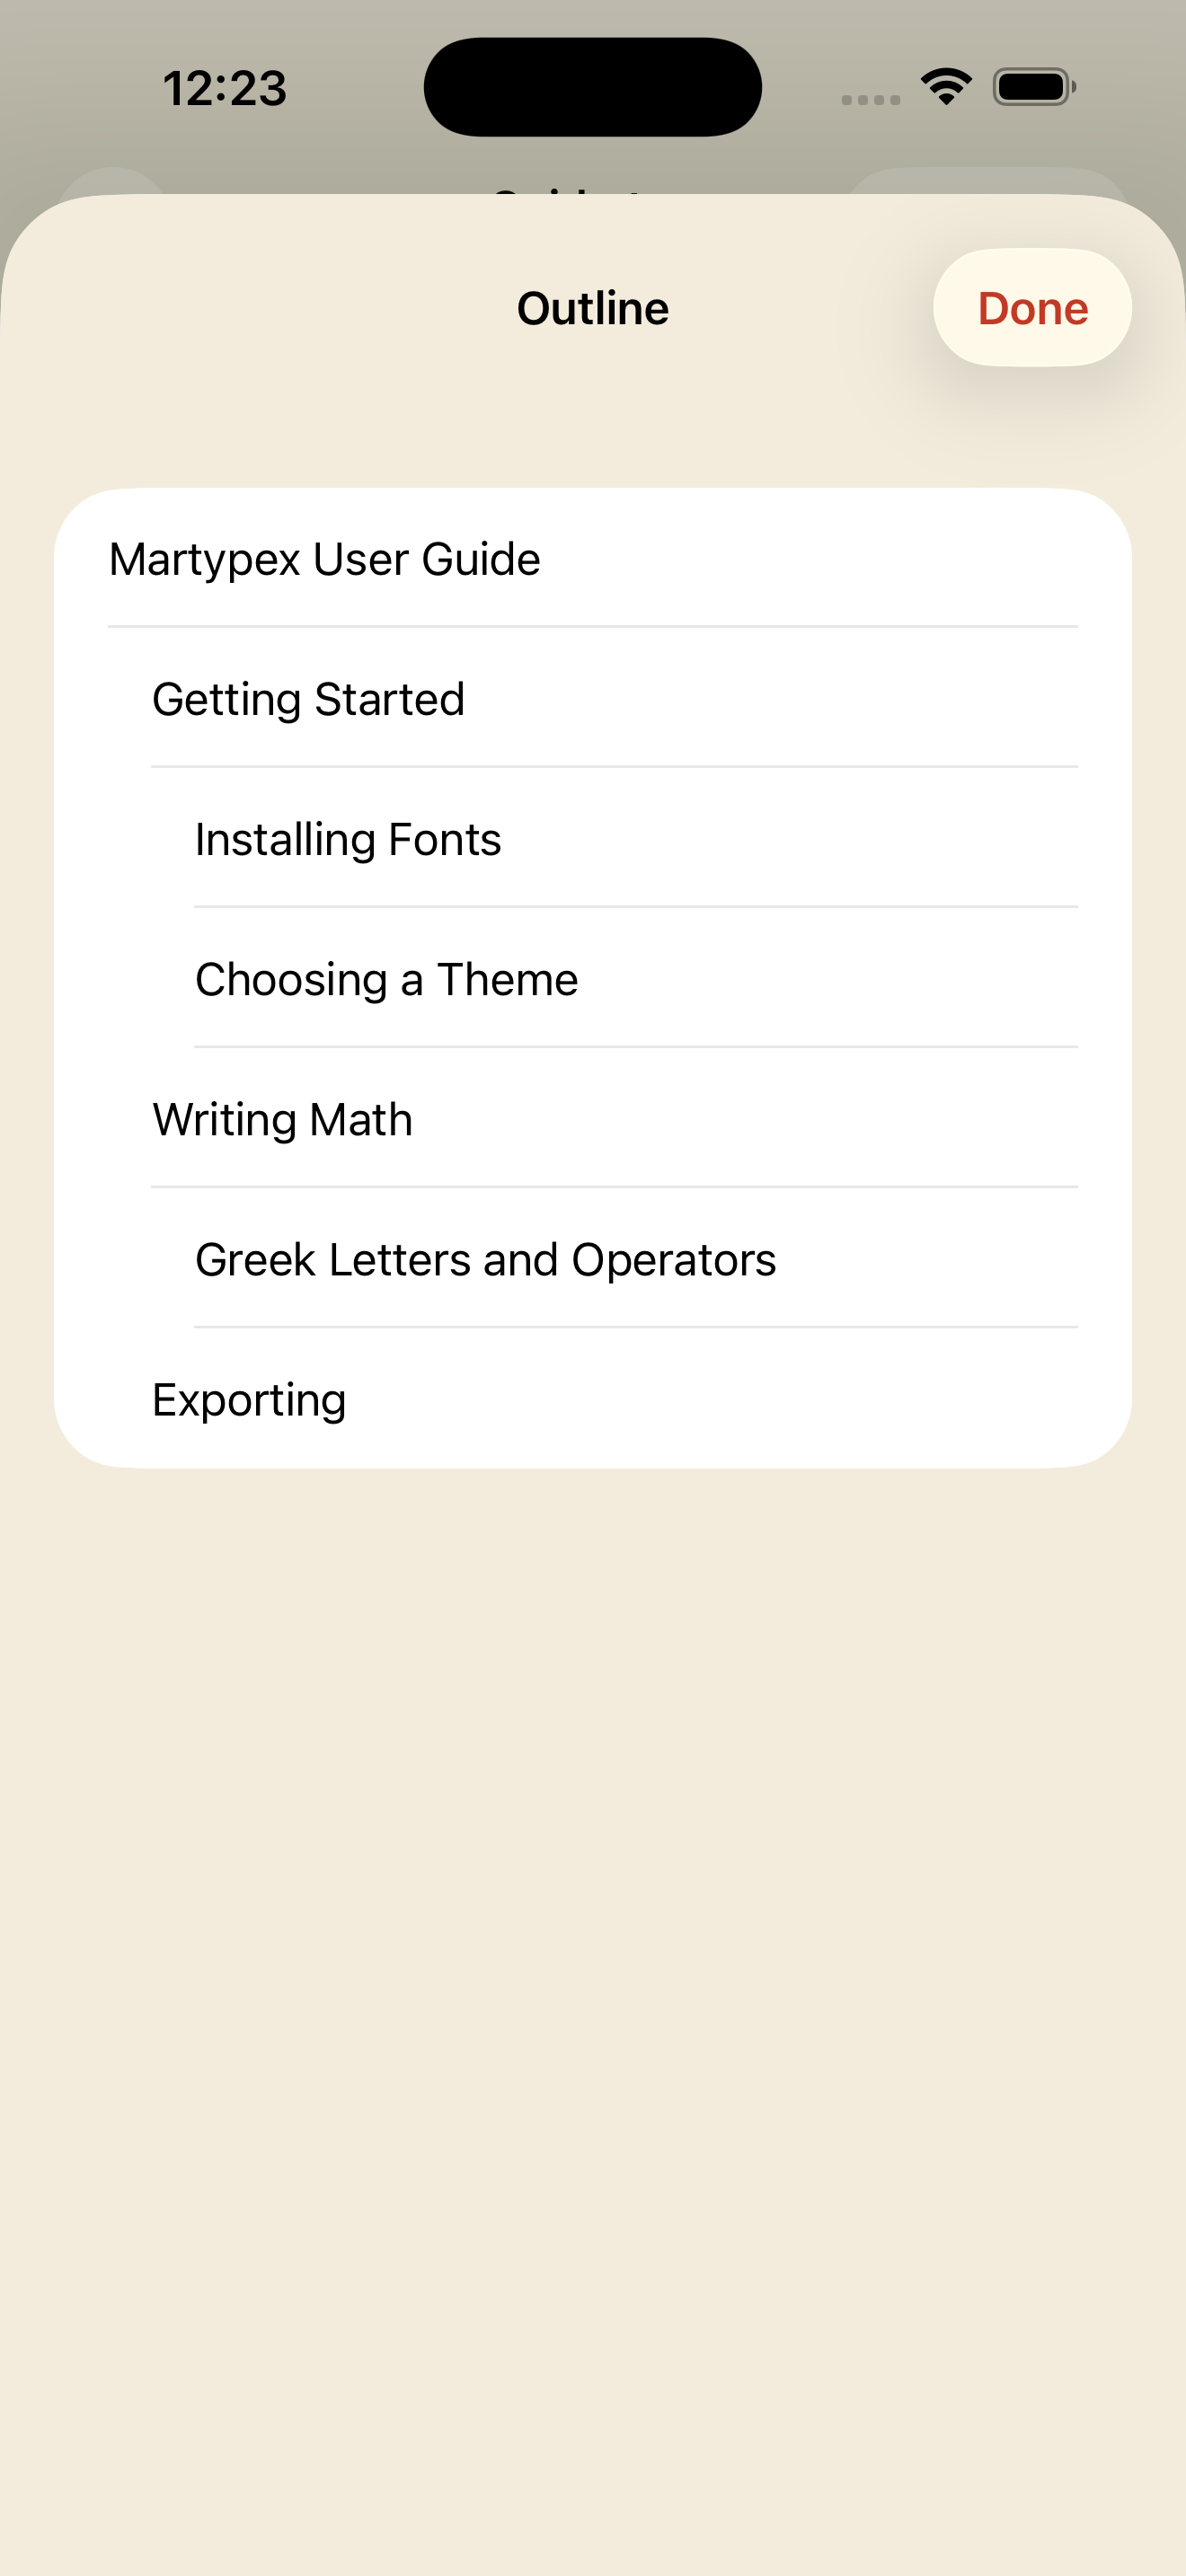
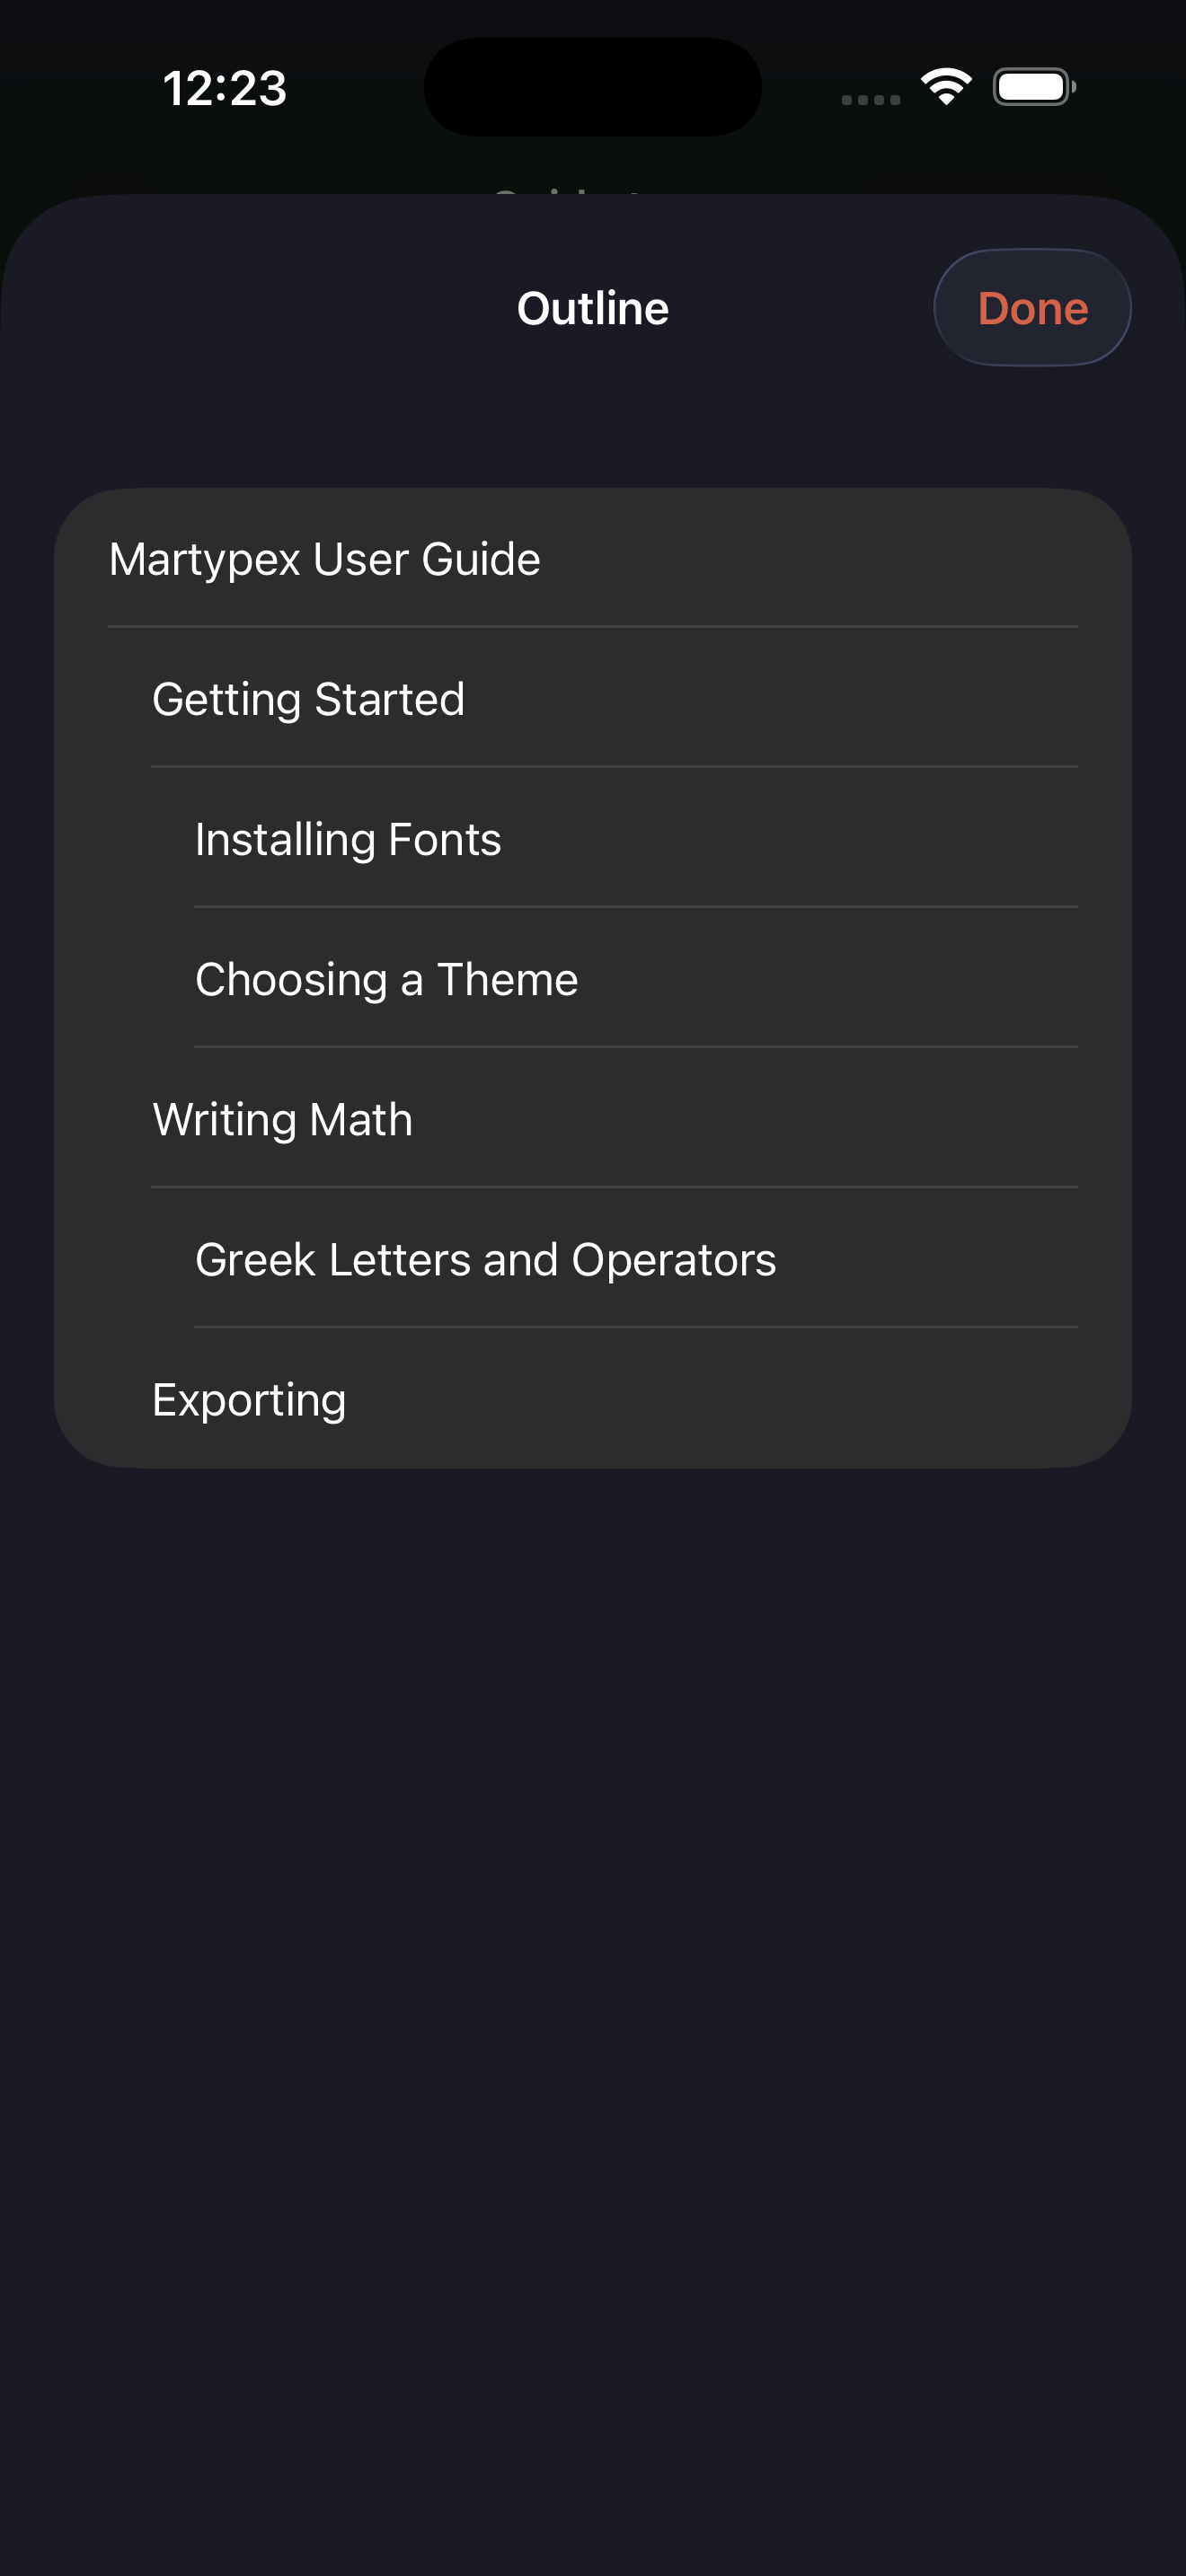
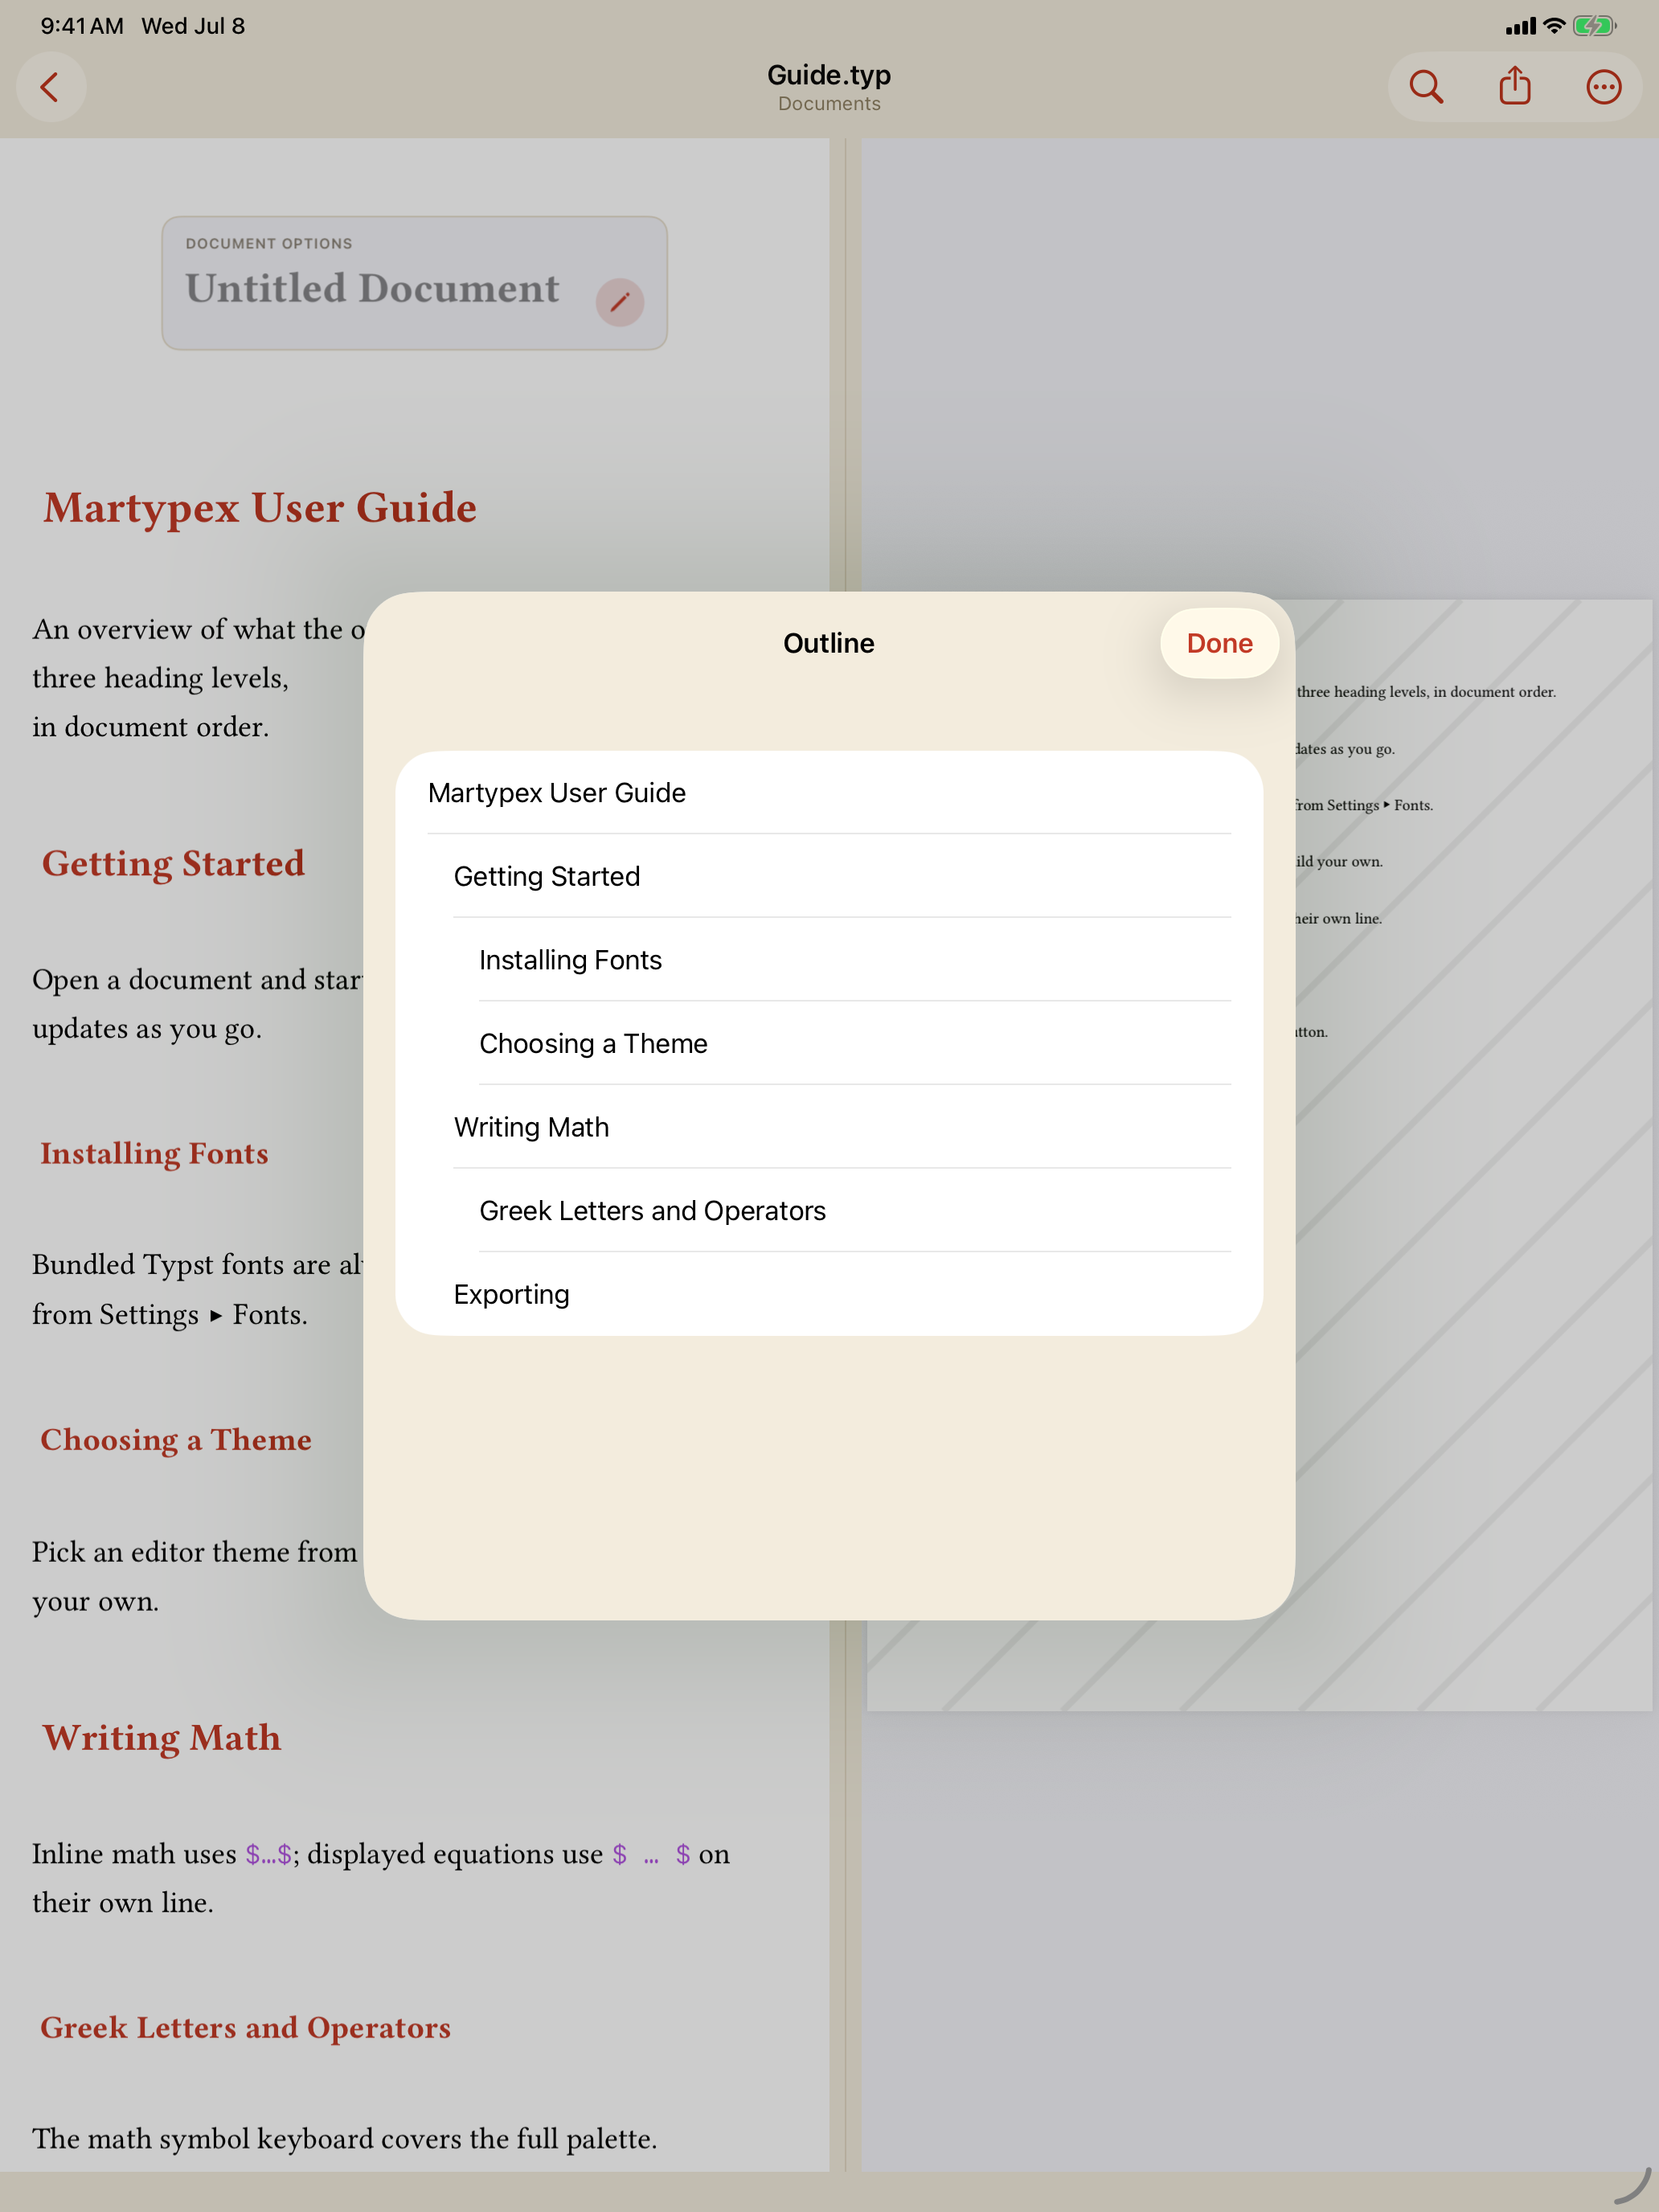
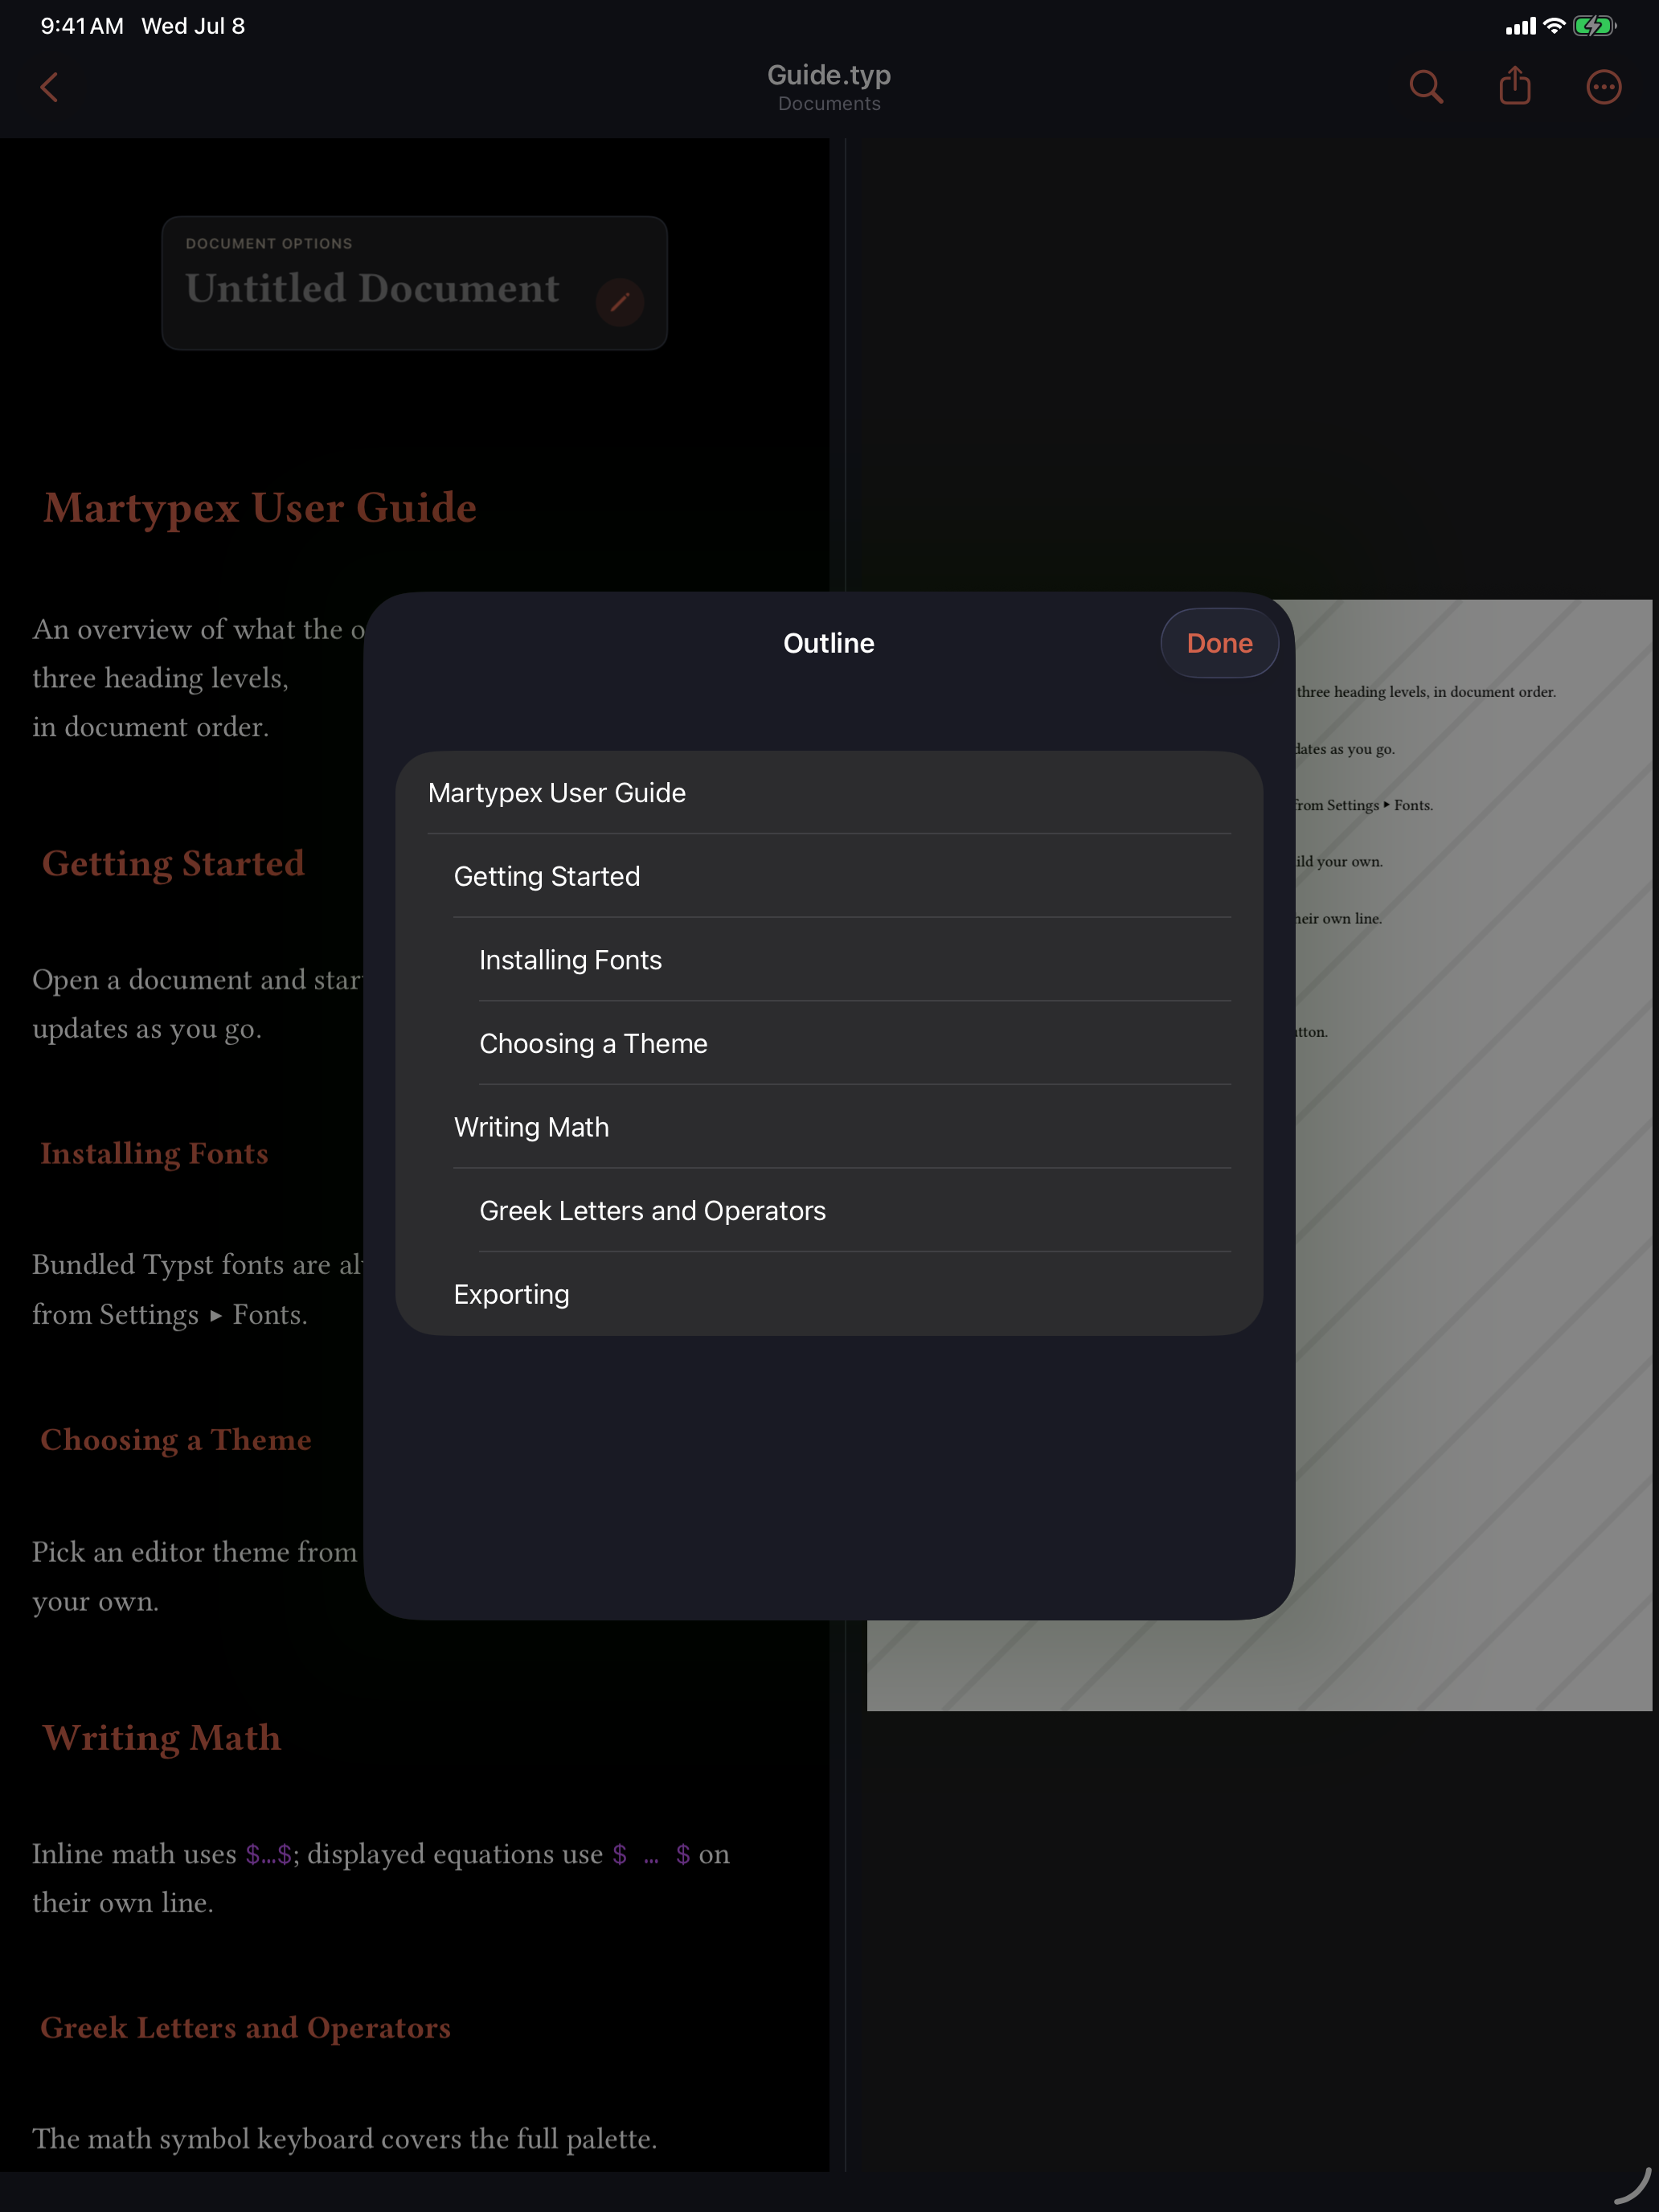
Open the editor’s ••• overflow menu and choose Outline. A sheet slides up listing every heading in the current document, indented to mirror its level, so a glance tells you how the piece is organised. Tap any heading and the editor scrolls straight to it, placing your cursor at the start of that section.


What it lists
The Outline reads the headings out of your source and understands both dialects. In a Typst file it picks up = Heading for level one, == Heading for level two, === Heading for level three, and so on down the hierarchy. In a Markdown file it reads the ATX headings, # Heading, ## Heading, and their deeper levels. Each entry is indented by its level, so nested sections sit under their parents and the shape of the document is visible at a glance.
The list stays in step with your writing: add, rename, or remove a heading and the Outline reflects it the next time you open the sheet.
The Outline is built from your document’s own heading syntax, not the compiled PDF, so it works whether or not the file has been compiled yet.
From the command palette
Headings are also reachable without opening the sheet. Press ⇧⌘K to open the Command Palette and start typing a heading’s name: matching headings appear alongside commands, math symbols, snippets, and files. Pick one and the editor jumps to it, exactly as tapping it in the Outline would. This is the fastest route when you already know the section you want and would rather stay on the keyboard.
Because the palette searches headings and files together, in a folder project you can jump from a section in one chapter to a heading in another without ever leaving the search field.